How To Give Yourself A Flawless Pedicure At Home
Do as the professionals do.
I don’t know about you, but staying inside for weeks has lead to my toenails looking a little, ahem, less than their best. But since we can’t head outside right now to spend money on a professional pedicure, it’s best that we tackle our toe needs from the convenience of our own bathrooms. Thankfully, it’s not that hard to master an amazing at-home pedicure, especially if you’ve got expert nail technicians and spa owners giving you step-by-step instructions like the ones below.
Before you proceed, make sure you’ve carved out a good amount of time to go through the at-home pedicure process. Yes, there are quite a few steps, but it’s only so that you get the most luxurious, safest treatment for your precious toes. Plus, if possible, don’t we all deserve to allocate a little bit of time to self-care right now? (The answer is yes.)
1. Gather your gear.
You’re going to need a solid arsenal for your pedi, says Jin Soon Choi, New York-based nail artist and spa owner. It might look like a lot, but you can find most of these tools online and they’ll last you a while.
Here’s what you’ll need for your home pedicure kit:
- Nail polish remover
- Nail clipper
- Nail file
- Nail buffer
- Cuticle pusher
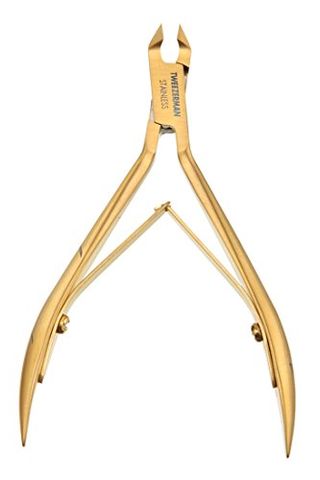
- Nail nipper
- Q-tips and cotton balls
- Cuticle oil and eraser
- Exfoliating scrub
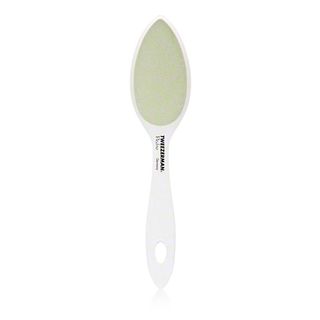
- Foot file or pumice stone
- Foot lotion
- Toe separator
- Base & top coat
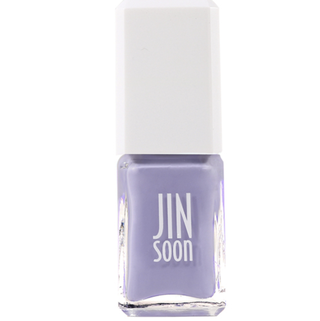
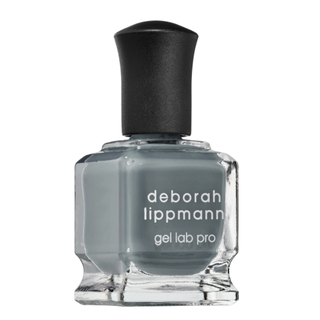
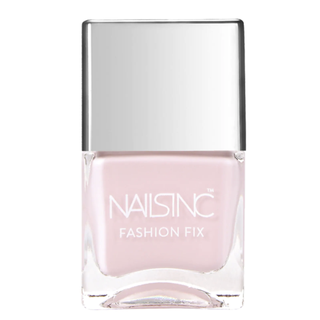
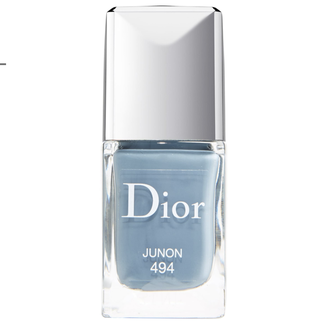
- Nail polish
While these aren’t all essential, if you’re really aiming for that professional level, spa-like me-time, Choi wants you to be prepared.
2. Get rid of the old gunk.
Grab a gentle nail polish remover from your local drug store or beauty supply store—Choi recommends a non-acetone polish remover since acetone weakens and dries out nail beds. Then, soak some into a cotton ball before running it over your toenails to remove old polish, debris, buildup, and natural oils from your nails, says nail care expert Lauren Berkovitz, the founder of Lauren B. Beauty.
3. Soak your feet.
Fill your tub with warm water and soak your feet in there for about 15 minutes, Choi advises. This is prime time to catch up on your Insta feed or FaceTime your mom.
To make the experience more spa-like, add a capful of distilled white vinegar (to cleanse and tone), a few drops of tea tree oil (to banish stinky bacteria), or a few tablespoons of Epsom salts (to help with achy feet). You can even throw in a few slices of lemon, which can help soften your cuticles and calluses, and sanitize even your feet, says Amy Ling Lin, owner of Sundays nail studio in New York City (here are 10 more beauty uses for lemons).
4. Shape your nails.
After a nice soak, gently pat your feet dry with a towel. Wait about five minutes to allow your nails, softened by the water, to totally dry and harden before grabbing your toenail clippers, nail file, nail nipper, and buffer.
Lead Nail Technician at Chillhouse Molly Romah says that whatever you do, make sure you don’t cut your nails too short. Doing so can leave your fingers with that stinging feeling caused by overexposed skin.
Once you’ve cut your nails down to your desired length with the clipper, shape the corners and edges with the file before clipping off any hangnails using the nipper. When you’re done, gently buff your nail beds to smooth out any ridges that would make your nail polish application look uneven.
5. Oil up.
Apply a cuticle eraser or remover to the skin around your nails, and with a metal cuticle pusher, gently push your cuticles back. If you’re confident, go head and cut the loosened skin around your cuticles off with the nipper, if you’re not, Choi says not to worry about it.
Then, regardless of whether you cut or don’t, apply cuticle oil to the skin around your nails. It will help prevent damage to the cuticle and nail, plus, it will help your pedicure last longer.
6. Slough off dead skin.
Now that your nails are almost ready for some color, dedicate a few moments to getting your feet in shape, too. After dipping your feet into the water once more, Romah recommends (gently!) running a foot file or a pumice stone back and forth across your heels, soles, and sides of your feet to get rid of all the dead skin and callouses. It sounds gross, but it’ll be super satisfying to watch all of the flakes fall off of your now-smooth feet.
Then, with a scrub (Choi loves sugar-based versions) massage your feet, ankles, and calves. When you’re done, rinse off with warm water, making sure there’s no residue in your cuticles or between your toes, and pat dry with your towel. No scrub? Make your own with equal parts sugar and coconut oil.
7. Moisturize and massage.
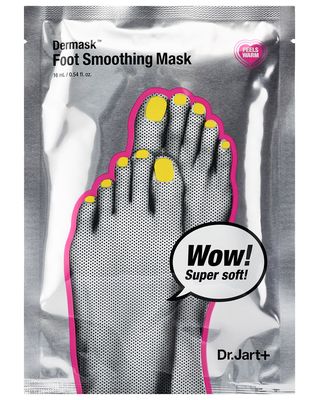
You’ll want to hydrate your feet and calves with lotion or foot cream (or a foot mask if you’re feeling extra!) to replenish any moisture lost post-scrub. Romah says you can give yourself a little foot massage during this portion to mimic the relaxing feeling of getting professional pedicure at a salon. Use a chair or the edge of the bath to hold your foot up as you lather the lotion between toes and along the arches and heals of your feet. Work your way up to your calves and rub out any knots you may feel lingering from your last workout.
Pro tip: Make sure whatever moisturizer you choose isn’t too greasy, Choi says. A greasy lotion will leave oil on your toenails making it harder for the nail polish to latch on.
8. Paint your nails.
Clean your nails and cuticles with a Q-tip or cotton ball soaked in polish remover to nix any remaining oils which can mess with the polish. And before you start swiping, Choi recommends using a toe separator, or a twisted paper towel in between your toes, to prevent smudging.
Prop your foot onto a chair or even the toilet and, with smooth strokes, use base coat to create a bottom layer which will help the polish stick better to your nails. “Take care to cover the entire nail,” Lin says. “This is the foundation you’re building off of, so take your time to make a smooth surface for the color coat.”
Then, apply your favorite nail polish color. “Apply thin, even layers,” Berkovitz says. More thin layers will last longer than fewer thick ones. To reduce the chance of nail polish getting on your skin, Choi recommends painting the middle of your nail first. “It will create guidelines for the rest of the nail,” she says, which will allow you to easily connect the painted sides of the nail to the middle strip.
Once you’re satisfied with a first coat, go in for a second thin coat making sure to hit the tips of your nails with the paint since that’s where polish chipping tends to start, Choi says. Give the polish a couple minutes to settle, then top it with a clear top coat to give shine and protect from chips.
And if you’re anxious for your toes to dry, Choi recommends applying quick-dry drops or using a hair dryer on its cool setting on your toes. Otherwise, be patient! It takes nail polish longer than you’d think to dry. If you rush it, you could end up with a sloppy, uneven finish.
9. Clean up any smudges.
Don’t worry if you got a little color on your cuticles Choi says a Q-tip covered in polish remover will clean them right up so no one will ever know.
10. Short on time? Multitask in the shower.
All of these steps can require quite a bit of your schedule. That said, if you’re in a hurry , Romah has a tip for fast tracking your pedi. Plan your pedicure around your shower—the hot water will act as your soak time so that fifteen minutes isn’t wasted. “You can clip, file, and buff the nails before getting in shower,” she explains. “Before you get out from the shower, scrub your feet.” Once you’re done, slip on some comfy clothes, snip off your cuticles and polish. Eas
Discover more from ReviewFitHealth.com
Subscribe to get the latest posts sent to your email.
